

Getting Started
Create Your Account
Sign up for Self-Host Pro and set up your team.
Sign up
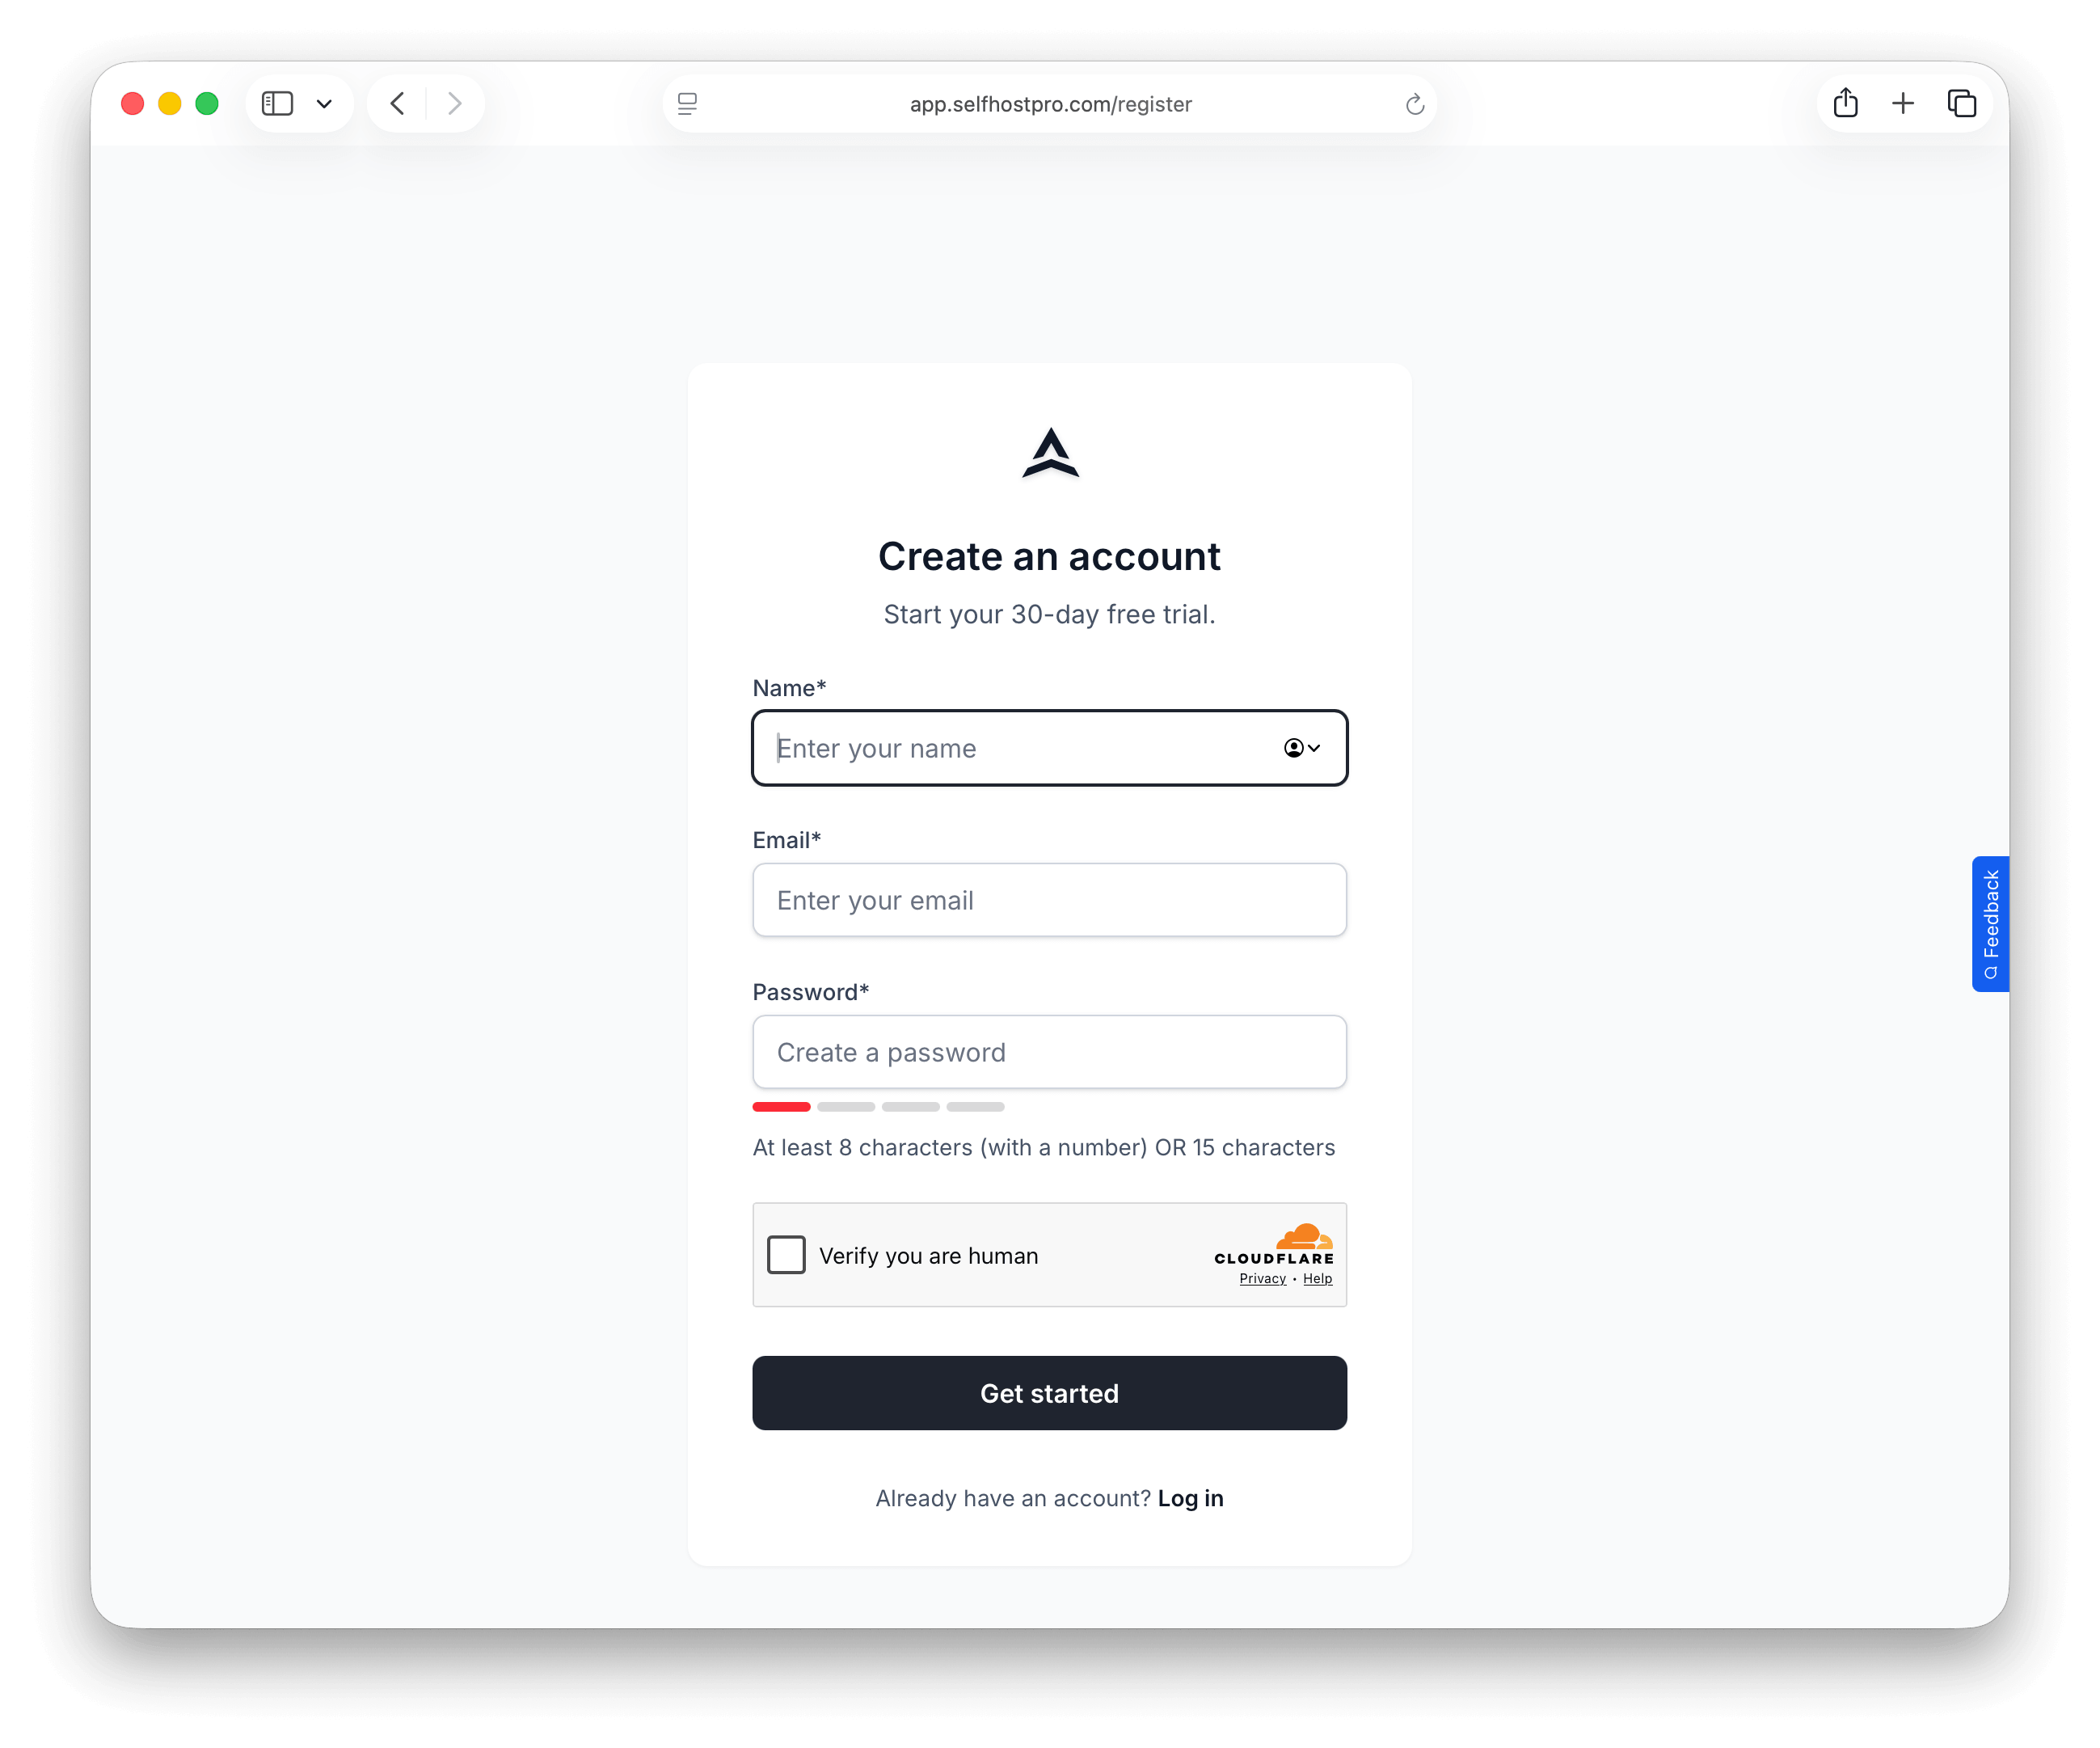
- Go to app.selfhostpro.com/register and create an account
- Verify your email address
Create a team
After signing up, you'll go through the onboarding flow to set up your team.
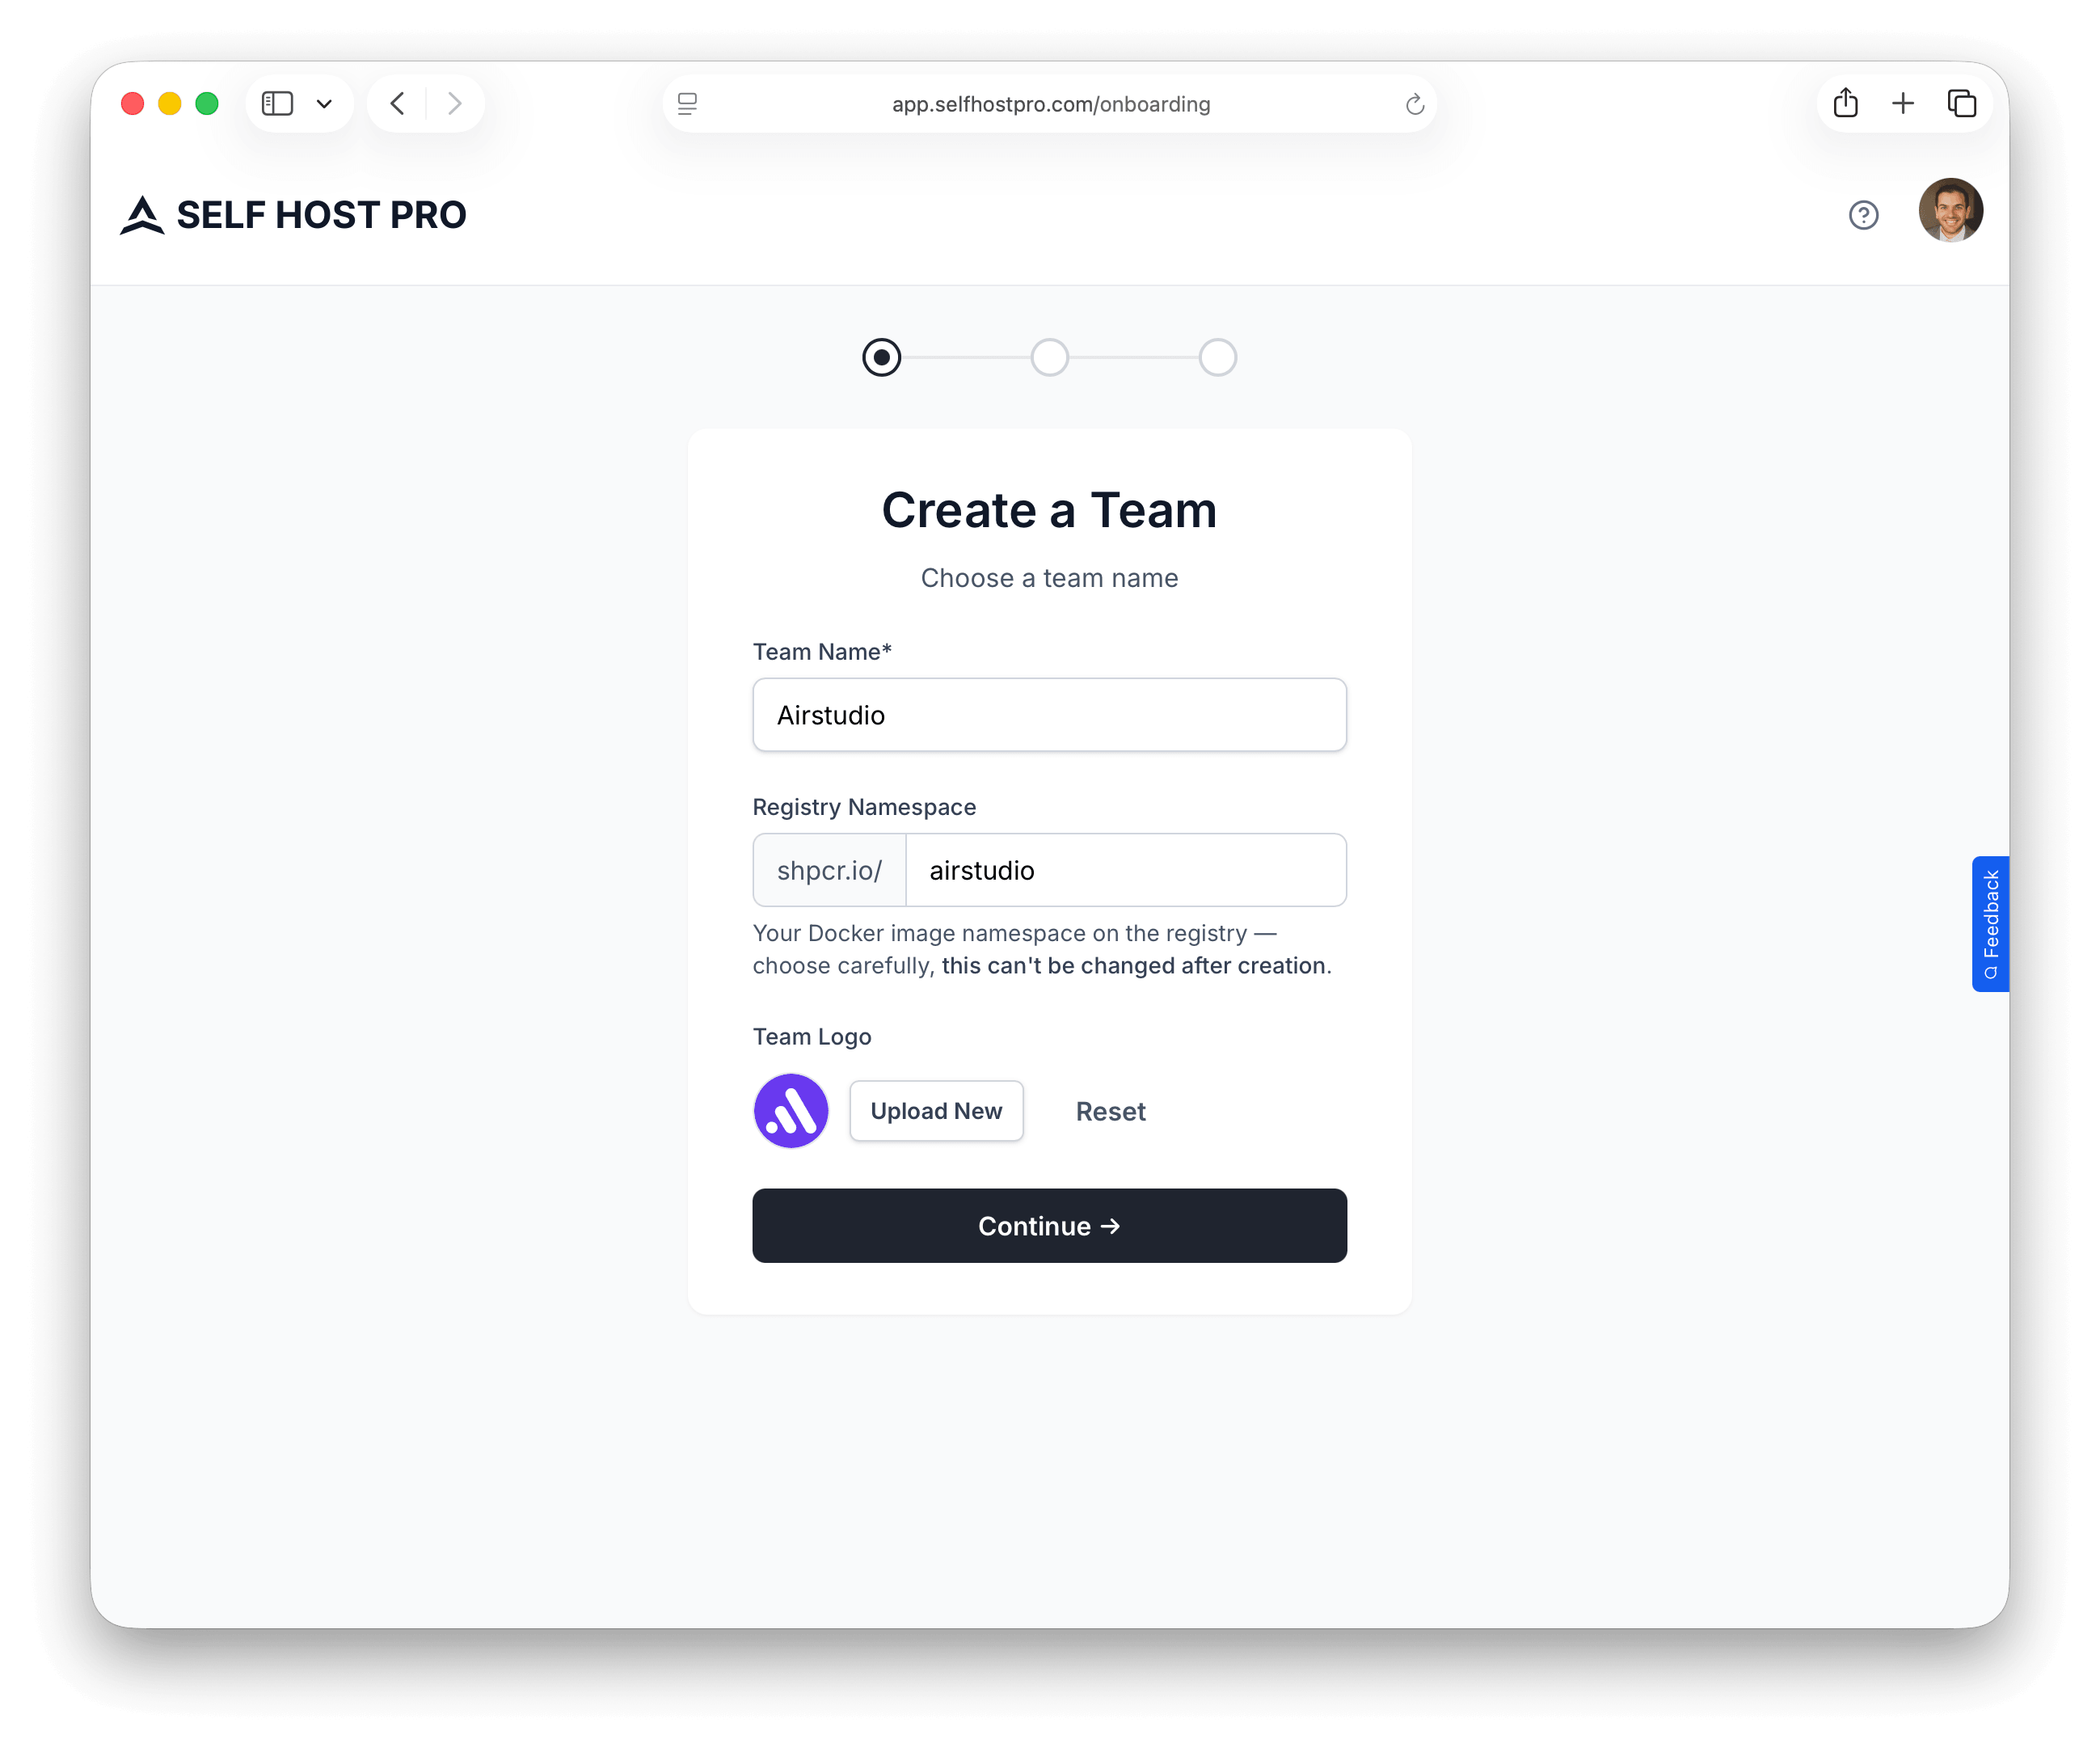
Team details
- Team name — Your company or project name (e.g., "Acme Software")
- Team URL — A unique slug used in your registry path and install URLs (e.g.,
acme→shpcr.io/acme/...) - Logo — Optional. Choose from placeholder logos or upload your own
Your team URL becomes part of your Docker registry path:
shpcr.io/{team-url}/{product-url}
Connect a payment provider
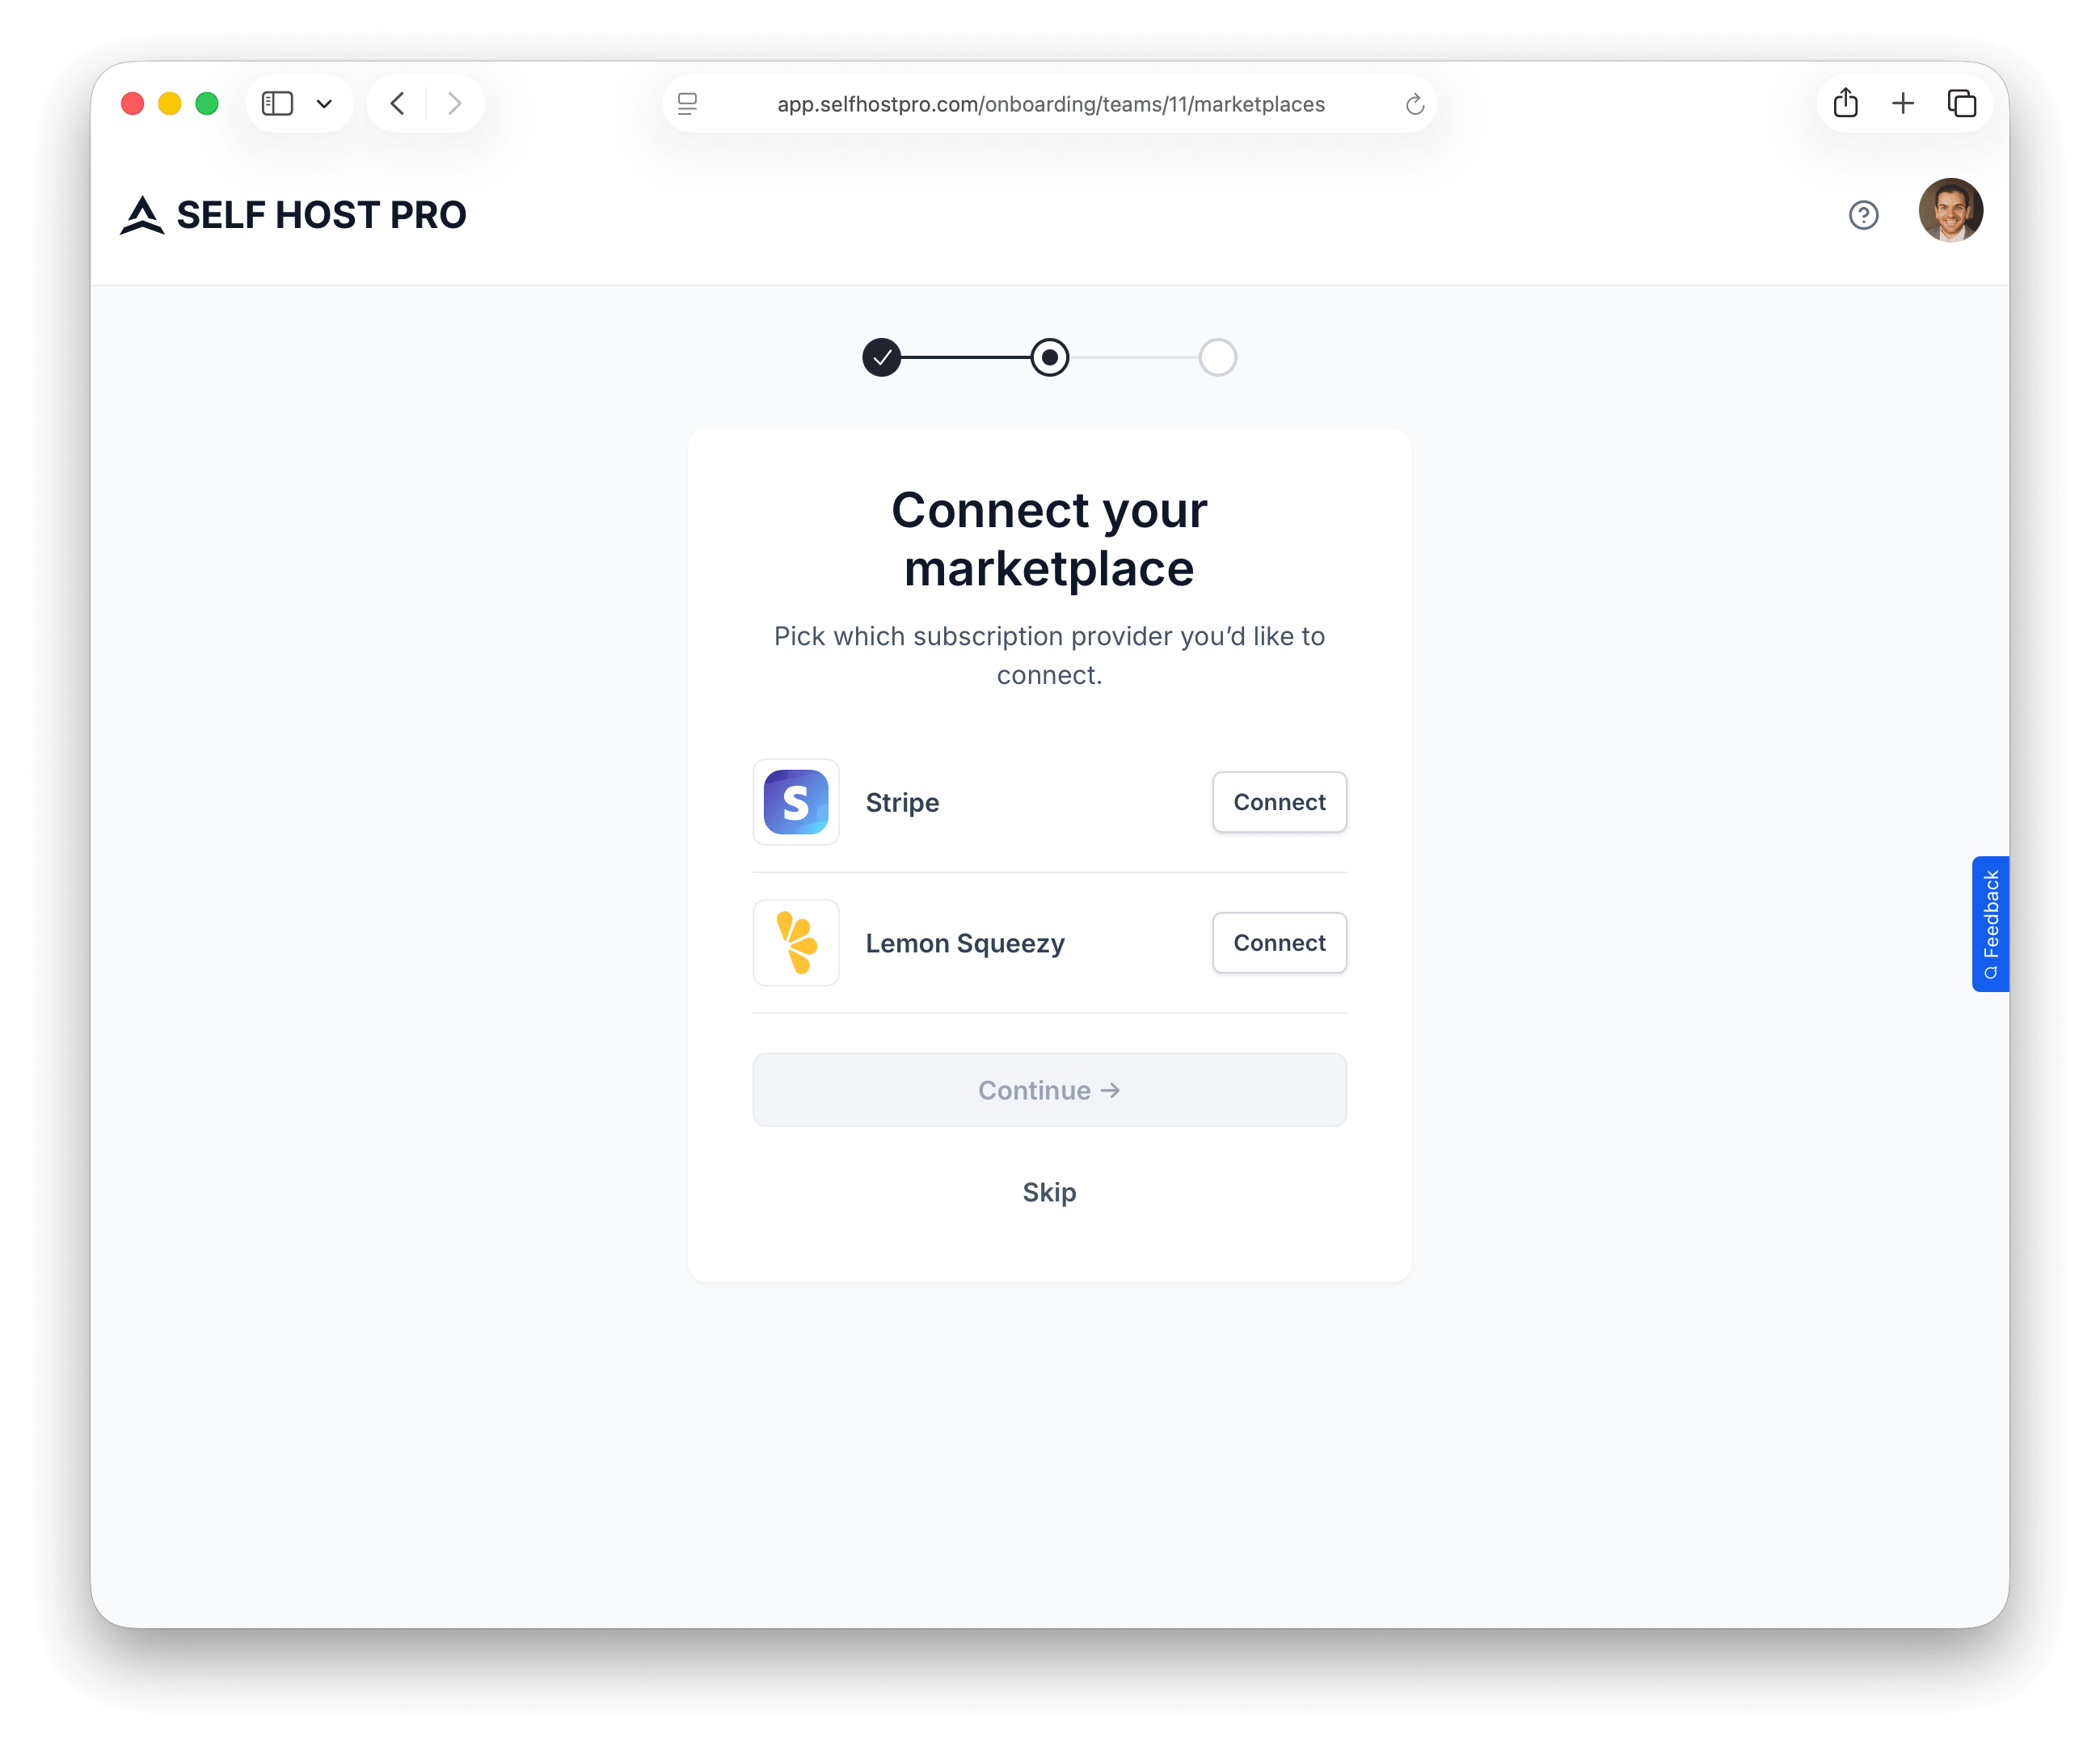
Next, connect a payment provider. Self-Host Pro supports:
- Stripe — Click Connect Stripe to open the OAuth flow. Payments go directly to your Stripe account.
- Lemon Squeezy — Enter your API key to connect. Lemon Squeezy acts as merchant of record and handles taxes and compliance.
You can skip this step during onboarding and connect a payment provider later from your team settings.
Create your first product
The final onboarding step prompts you to create your first product. You can also do this later from the Products page.
See Create Your First Product for detailed instructions.